
Amigurumi Frog: A Maker’s Guide to Crocheting This Beginner-Friendly Critter
Amigurumi frogs sit in a nice sweet spot within amigurumi…
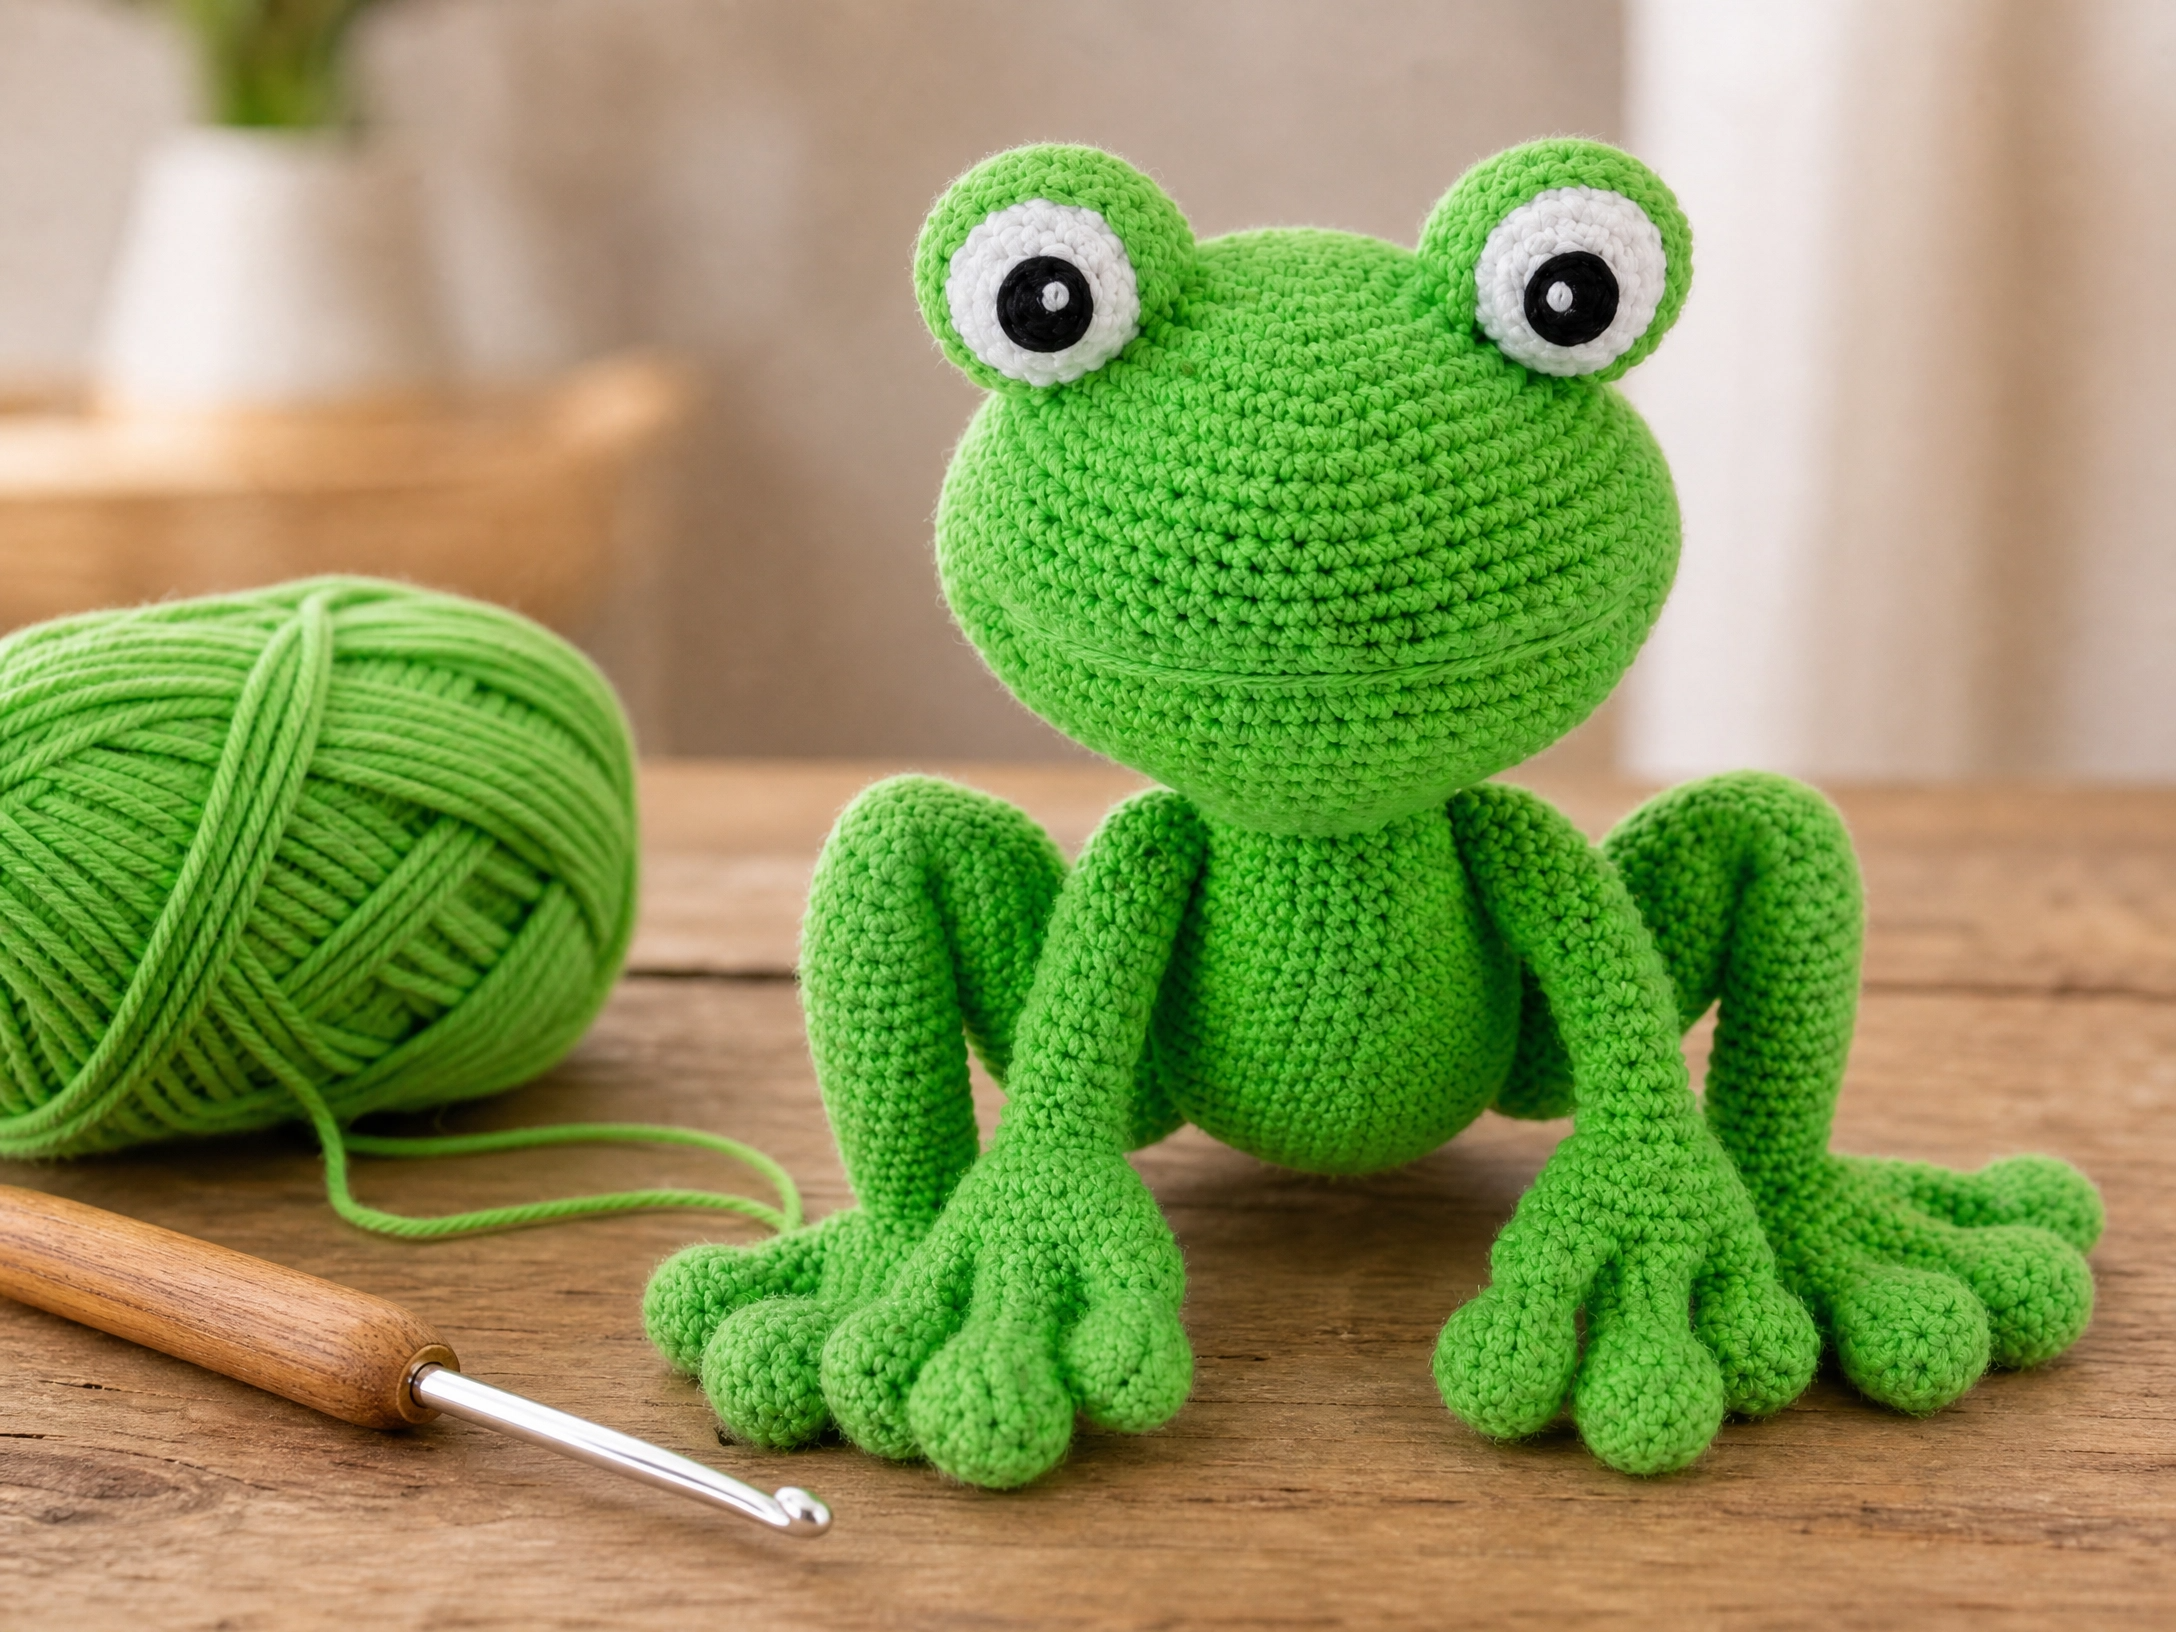
Amigurumi frogs sit in a nice sweet spot within amigurumi crochet — expressive enough to have real personality once finished, but built from shapes simple enough that they don’t demand advanced shaping the way a lot of amigurumi animals do. That combination is a big part of why frog patterns show up so often in searches for beginner-friendly amigurumi crochet patterns rather than being treated as an advanced project.
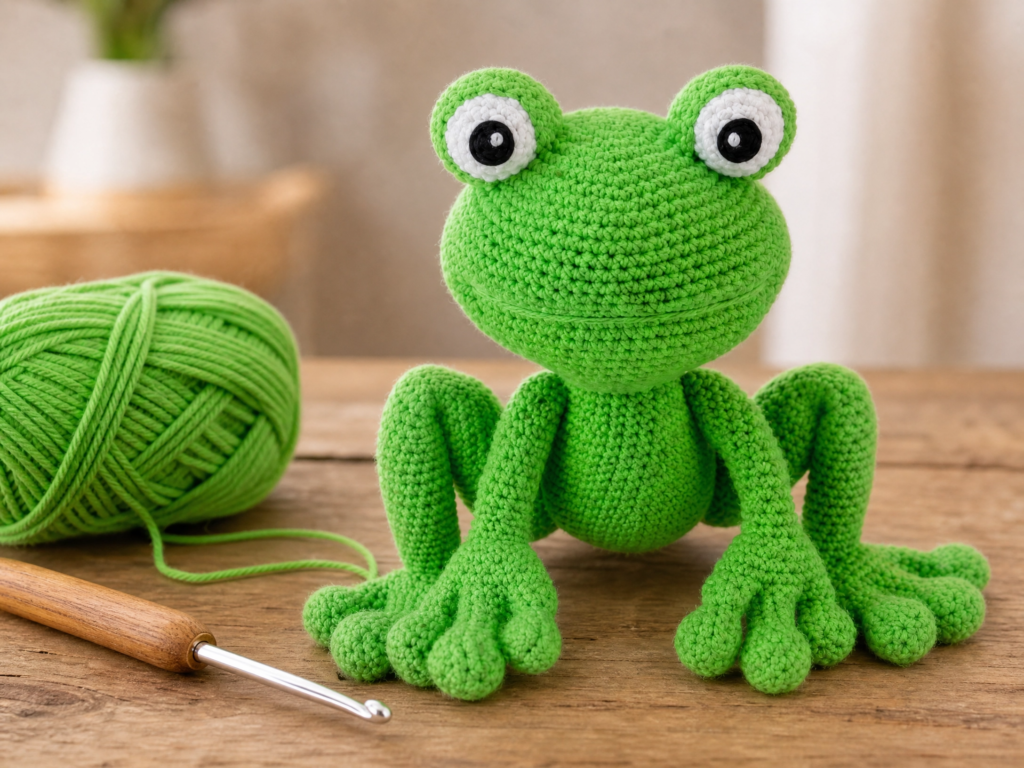
As someone who spends a lot of time around amigurumi frog patterns and crochet in general, the questions that come up most are practical — which yarn actually works best, whether frogs count among the easier or harder animals to make, where to track down a genuinely free pattern, and what people mean when they use “frog” as a verb in a crochet context (it’s not what you’d guess). This guide covers all of it, then walks through a full amigurumi frog free pattern from start to finish.
Key Takeaways
- Frogs are widely considered one of the easier amigurumi animals to start with, since their body shapes are simple rounded forms without complex ears, tails, or fine facial detail.
- Worsted weight acrylic yarn, widely available at craft stores like Hobby Lobby or Michaels, is the standard and practical choice for amigurumi — you don’t need a specialty yarn.
- The most common amigurumi mistakes come down to stuffing (too little or too loose) and inconsistent tension, not the shaping itself.
- In crochet slang, “to frog” your work means to rip it out and start over — a pun on “rip-it, rip-it” sounding like a frog’s ribbit, unrelated to the amigurumi animal itself.
- A full amigurumi frog pattern with head, body, eyes, arms, legs, and feet is included below.
How Do You Crochet a Frog, and What Yarn Works Best?
Amigurumi frogs are built the same way most amigurumi animals are — a series of separately crocheted pieces (head, body, limbs) worked in continuous rounds of single crochet, stuffed as you go, then sewn together at the end. What makes a frog specifically approachable is that its pieces are mostly simple rounded shapes without complicated features like ears, manes, or long tails that add extra shaping steps.
For yarn, standard worsted weight acrylic is the practical, widely recommended choice for amigurumi crochet in general — it holds its shape well when stuffed, comes in a huge color range, and is inexpensive enough that mistakes don’t feel costly. Craft store brands from either Hobby Lobby or Michaels work equally well for this purpose; neither store has a meaningful quality edge over the other for basic worsted weight yarn, so the better choice usually comes down to which store has your specific colors in stock or better pricing that week, rather than one brand being objectively superior for amigurumi.
Is a Frog One of the Easier or Harder Animals to Crochet?
Frogs land solidly on the easier end of the amigurumi difficulty spectrum. The most difficult animals to crochet tend to be ones with intricate features — detailed faces, textured fur effects, multiple small appendages, or asymmetrical shaping (think detailed dragons or animals with manes and textured coats). A frog’s rounded head, simple body, and straightforward limbs make it a solid choice if you’re newer to amigurumi and want a project with real charm and personality without the more advanced shaping techniques those trickier animals require.
The mistakes that come up most in amigurumi generally aren’t really about which animal you pick — they’re about two things: stuffing (either too little, leaving a saggy shape, or too unevenly distributed, leaving lumps) and tension consistency, since loose, uneven stitches let stuffing show through gaps. Both are fixable with practice and don’t require picking an “easier” animal to avoid.
Where Can You Find Free Amigurumi Frog Patterns?
Free amigurumi frog patterns and free crochet patterns generally are widely available across dedicated crochet pattern blogs, platforms like Ravelry, and yarn brand websites, which often publish patterns designed around their own yarn lines. If you’re specifically looking for a beginner-friendly free pattern, the featured pattern below covers a complete, well-tested frog design — head, body, eyes with lids, arms with fingers, legs, and feet — giving you a genuinely full project to work from rather than a simplified partial pattern.
What Does “Frog” Mean When You’re Crocheting?
Outside of the amigurumi animal itself, “frog” is common crochet and knitting slang for ripping out your stitches and starting over — as in, “I had to frog that whole row.” The term comes from “rip it, rip it” sounding like a frog’s ribbit, and it’s used constantly across the fiber arts community whenever a mistake means undoing work rather than fixing it in place. It has nothing to do with actually making a frog amigurumi; the two just happen to share the word.
The Pattern: Amigurumi Frog
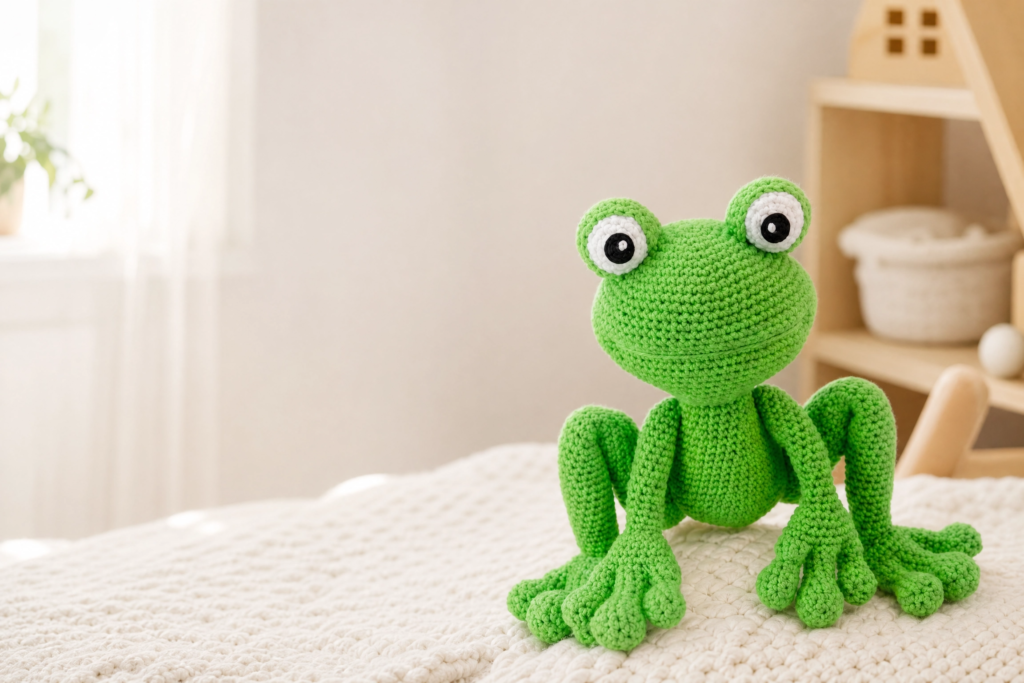
Skill Level
★★ (Beginner–Intermediate)
Size
9″ / 23 cm tall when made with the indicated yarn.
Materials
- Worsted weight yarn in bright green, white, and black (this example is made with Red Heart Super Saver in Spring Green, White, and Black)
- Size F-5 (3.75mm) crochet hook
- Stitch marker
- Blunt end tapestry needle
- Fabric glue
- Leftover piece of black and white felt
- Fiberfill for stuffing
Head (in green yarn)
Rnd 1: sc 6 times in a magic ring [6]
Rnd 2: inc 6 times [12]
Rnd 3: (sc in next st, inc in next st) repeat 6 times [18]
Rnd 4: (sc in next 2 st, inc in next st) repeat 6 times [24]
Rnd 5: (sc in next 3 st, inc in next st) repeat 6 times [30]
Rnd 6: (sc in next 4 st, inc in next st) repeat 6 times [36]
Rnd 7: (sc in next 5 st, inc in next st) repeat 6 times [42]
Rnd 8: sc in all 42 st [42]
Rnd 9: (sc in next 6 st, inc in next st) repeat 6 times [48]
Rnd 10: sc in all 48 st [48]
Rnd 11: sc in next 7 st, inc, (sc in next st, inc in next st) repeat 4 times, sc in next 16 st, inc, (sc in next st, inc in next st) repeat 4 times, sc in last 7 st [58]
Rnd 12: sc in all 58 st [58]
Rnd 13: sc in next 7 st, inc, (sc in next 2 st, inc in next 2 st) repeat 4 times, sc in next 18 st, inc, (sc in next 2 st, inc in next 2 st) repeat 4 times, sc in last 7 st [68]
Rnd 14–19: sc in all 68 st [68]
Rnd 20: sc in next 7 st, dec, (sc in next 2 st, dec) repeat 4 times, sc in next 18 st, dec, (sc in next 2 st, dec) repeat 4 times, sc in last 7 st [58]
Rnd 21: sc in all 58 st [58]
Rnd 22: sc in next 7 st, dec, (sc in next st, dec) repeat 4 times, sc in next 16 st, dec, (sc in next st, dec) repeat 4 times, sc in last 7 st [48]
Rnd 23: sc in all 48 st [48]
Rnd 24: (sc in next 6 st, dec) repeat 6 times [42]
Rnd 25: sc in all 42 st [42]
Rnd 26: (sc in next 5 st, dec) repeat 6 times [36]
Stuff with fiberfill and continue stuffing as you go.
Rnd 27: (sc in next 4 st, dec) repeat 6 times [30]
Rnd 28: (sc in next 3 st, dec) repeat 6 times [24]
Rnd 29: (sc in next 2 st, dec) repeat 6 times [18]
Rnd 30: (sc in next st, dec) repeat 6 times [12]
Rnd 31: dec 6 times [6]
Fasten off, weave in the yarn ends.
Body (in green yarn)
Rnd 1: sc 6 times in a magic ring [6]
Rnd 2: inc 6 times [12]
Rnd 3: (sc in next st, inc in next st) repeat 6 times [18]
Rnd 4: (sc in next 2 st, inc in next st) repeat 6 times [24]
Rnd 5: (sc in next 3 st, inc in next st) repeat 6 times [30]
Rnd 6: (sc in next 4 st, inc in next st) repeat 6 times [36]
Rnd 7: (sc in next 5 st, inc in next st) repeat 6 times [42]
Rnd 8–11: sc in all 42 st [42]
Rnd 12: (sc in next 5 st, dec) repeat 6 times [36]
Rnd 13–16: sc in all 36 st [36]
Rnd 17: (sc in next 4 st, dec) repeat 6 times [30]
Rnd 18–20: sc in all 30 st [30]
Rnd 21: (sc in next 3 st, dec) repeat 6 times [24]
Rnd 22–24: sc in all 24 st [24]
Fasten off, leaving a tail for sewing. Stuff with fiberfill.
Eye (make 2, in white yarn)
Rnd 1: start 6 sc in a magic ring [6]
Rnd 2: inc 6 times [12]
Rnd 3: (sc in next st, inc in next st) repeat 6 times [18]
Rnd 4–5: sc in all 18 st [18]
Rnd 6: (sc in next st, dec) repeat 6 times [12]
Stuff with fiberfill.
Rnd 7: dec 6 times [6]
Fasten off, weave in the yarn ends.
Eyelid (make 2, in green yarn)
We start with a magic ring but then continue to crochet in rows.
Row 1: start 5 sc in a magic ring, ch 1, turn [5]
Row 2: (sc in next st, inc in next st) repeat 2 times, sc in last st, ch 1, turn [7]
Row 3: (sc in next st, inc in next st) repeat 3 times, sc in last st, ch 1, turn [10]
Row 4: (sc in next 4 st, inc in next st) repeat 2 times, ch 1, turn [12]
Row 5: (sc in next 3 st, inc in next st) repeat 3 times, ch 1, turn [15]
Row 6: (sc in next 4 st, inc in next st) repeat 3 times, ch 1, turn [18]
Row 7: (sc in next 5 st, inc in next st) repeat 3 times, ch 1, turn [21]
Row 8: sc in all 21 st, ch 1, turn [21]
Row 9: (sc in next 5 st, dec) repeat 3 times, ch 1, turn [18]
Row 10: (sc in next 4 st, dec) repeat 3 times [15]
Fasten off, leaving a tail for sewing.
Arm (make 2, in green yarn)
Rnd 1: start 5 sc in a magic ring [5]
Rnd 2: inc 5 times [10]
Rnd 3–13: sc in all 10 st [10]
Rnd 14: (sc in next 3 st, dec) repeat 2 times [8]
Rnd 15–18: sc in all 8 st [8]
Rnd 19: (inc in next 2 st, sc in next 2 st) repeat 2 times [12]
Rnd 20: (sc in next st, inc in next st) repeat 6 times [18]
Rnd 21–22: sc in all 18 st [18]
Stuff the arm with fiberfill.
Rnd 23: (sc in next 2 st, inc in next st) repeat 6 times [24]
In the next round we will begin the first finger.
Rnd 24: sc in next 9 st, skip next 5 st [9]
We continue working in these 9 stitches only.
Rnd 25: sc in all 9 st [9]
Rnd 26: (sc in next st, dec) repeat 3 times [6]
Rnd 27: sc in all 6 st [6]
Rnd 28: (sc in next st, inc in next st) repeat 3 times [9]
Rnd 29: (sc in next 2 st, inc in next st) repeat 3 times [12]
Rnd 30: sc in all 12 st [12]
Rnd 31: (sc in next 2 st, dec) repeat 3 times [9]
Rnd 32: (sc in next st, dec) repeat 3 times [6]
Rnd 33: dec 3 times [3]
Fasten off, weave in the yarn end. Stuff the first finger with fiberfill.
We now begin making the second finger. Pull up a loop of green yarn in the first sc to the left of the first finger.
Rnd 1: ch 1, sc in same st where you joined your yarn, sc in next 3 st, skip next 7 st, sc in next 4 st, add 2 sc in the bottom of the first finger to add 2 more st [10]
Rnd 2: sc in all 10 st [10]
Stuff with fiberfill and continue stuffing as you go.
Rnd 3: (sc in next 3 st, dec) repeat 2 times [8]
Rnd 4–5: sc in all 8 st [8]
Rnd 6: (sc in next st, inc in next st) repeat 4 times [12]
Rnd 7: (sc in next 2 st, inc in next st) repeat 4 times [16]
Rnd 8: sc in all 16 st [16]
Rnd 9: (sc in next 2 st, dec) repeat 4 times [12]
Rnd 10: (sc in next st, dec) repeat 4 times [8]
Rnd 11: dec 4 times [4]
We now begin making the third finger. Pull up a loop of green yarn in the first sc to the left of the second finger.
Rnd 1: ch 1, sc in same st as where you joined your yarn, sc in next 6 st, sc in next 2 st in the bottom of the second finger to add 2 more st [9]
Rnd 2: (sc in next st, dec) repeat 3 times [6]
Stuff the third finger with fiberfill and continue stuffing until you close.
Rnd 3: sc in all 6 st [6]
Rnd 4: (sc in next st, inc in next st) repeat 3 times [9]
Rnd 5: (sc in next 2 st, inc in next st) repeat 3 times [12]
Rnd 6: sc in all 12 st [12]
Rnd 7: (sc in next 2 st, dec) repeat 3 times [9]
Rnd 8: (sc in next st, dec) repeat 3 times [6]
Rnd 9: dec 3 times [3]
Fasten off, sew up any holes on the fingers, and weave in the yarn ends.
Leg (make 2, in green yarn)
Rnd 1: start 5 sc in a magic ring [5]
Rnd 2: inc 5 times [10]
Rnd 3: (sc in next st, inc in next st) repeat 5 times [15]
Rnd 4: (sc in next 2 st, inc in next st) repeat 5 times [20]
Rnd 5–14: sc in all 20 st [20]
Rnd 15: (sc in next 2 st, dec) repeat 5 times [15]
Rnd 16–20: sc in all 15 st [15]
Begin stuffing the leg and continue stuffing as you go.
Rnd 21: (sc in next st, dec) repeat 5 times [10]
Rnd 22: sc in all 10 st [10]
Rnd 23: (sc in next 3 st, dec) repeat 2 times [8]
Don’t over stuff this middle section of the leg. You will want to be able to bend it later.
Rnd 24: sc in all 8 st [8]
Rnd 25: (sc in next 3 st, inc in next st) repeat 2 times [10]
Rnd 26–27: sc in all 10 st [10]
Rnd 28: (sc in next 4 st, inc in next st) repeat 2 times [12]
Rnd 29–32: sc in all 12 st [12]
Rnd 33: (sc in next 3 st, inc in next st) repeat 3 times [15]
Rnd 34–39: sc in all 15 st [15]
Rnd 40: (sc in next 3 st, dec) repeat 3 times [12]
Rnd 41–45: sc in all 12 st [12]
Fasten off, leaving a long tail for sewing.
Foot (make 2, in green yarn)
Rnd 1: start 6 sc in a magic ring [6]
Rnd 2: inc 6 times [12]
Rnd 3: (sc in next st, inc in next st) repeat 6 times [18]
Rnd 4–5: sc in all 18 st [18]
Rnd 6: (sc in next 2 st, inc in next st) repeat 6 times [24]
Rnd 7–9: sc in all 24 st [24]
Continue with the arm pattern from round 24 onwards to complete the toes. Make sure you stuff the toes and feet as you go.
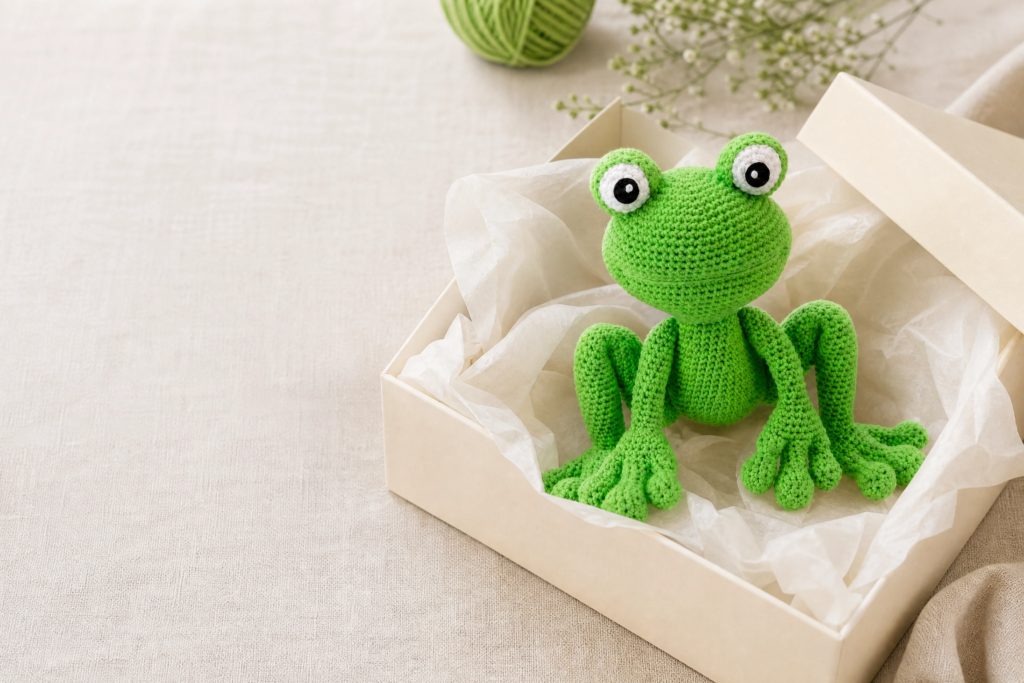
Assembly
- Position the head to the body and sew them together.
- Sew the eyelids to the white eyeball with the edge touching round 4. Add some fiberfill under the eyelids, behind the eyes.
- Pin the eyes to the head between round 4 and 11 and sew them on. Add a few stitches under the white parts of the eye, because the stuffing behind the eyelids might have a chance to come out if you don’t.
- Pin the arms to the body and sew them in place.
- Sew the top back part of the feet to the legs, so that the feet are at the right angles to the legs.
- If you want the legs to stay bent, sew them together with one stitch under the knee so that they will stay put.
- Sew round 3 to 11 of the legs to the body. If you want the legs to be bent, sew them to the body pointing upwards. If you want them straight, sew them to the body pointing downwards.
- Cut two small circles from black felt for the frog’s pupils and two smaller circles from white felt to add some “shine” to his eyes. Use fabric glue to attach these.
- For the frog’s mouth, take a long strand of green yarn and insert your needle into the back of the frog’s head. Bring the needle out on the front side where you want the mouth to start. Run the strand across the face and insert the needle on the other side of its face. Run the needle back through the head, to where you started on the back of the frog’s head. Pull both ends tight to make the indentation of the mouth. Tie a couple of knots to secure, cut the ends, and stuff the knots back into the head to hide them.
Frequently Asked Questions
What yarn is best for frog crochet?
Standard worsted weight acrylic yarn works well — it’s affordable, widely available, and holds its shape once stuffed.
What is the most difficult animal to crochet?
Animals with intricate features — detailed faces, textured fur, or multiple small appendages — tend to be the hardest; frogs are considerably simpler by comparison.
Is it better to get yarn at Hobby Lobby or Michaels?
Neither has a clear edge for basic worsted weight amigurumi yarn — it usually comes down to which store has your color in stock or better pricing that week.
What are some common mistakes to avoid in amigurumi?
Under-stuffing or uneven stuffing, and inconsistent tension that lets stuffing show through gaps, are the two most frequent issues.
What is the easiest amigurumi animal to crochet?
Animals with simple, rounded shapes and minimal extra features — like frogs — are generally considered among the easiest for beginners.
What does “frog” mean when crocheting?
It’s slang for ripping out your stitches and starting over, from “rip it, rip it” sounding like a frog’s ribbit — unrelated to the amigurumi animal.
Can ADHD people crochet?
Yes — many people who describe themselves as having ADHD find the repetitive motion of crochet engaging or calming, though that’s an individual experience rather than a clinical recommendation.
Final Thoughts
An amigurumi frog is a genuinely satisfying project for building confidence in amigurumi crochet — simple enough in its core shapes to stay approachable, with just enough detail (the layered eyes, the fingers and toes) to feel like a real accomplishment once it’s finished.
Give this pattern a try, and if your stitch counts drift or your stuffing ends up lumpy, leave a comment — I’m happy to help you troubleshoot exactly where it went off track.