Ribbed Crochet Socks Pattern – Beginner-Friendly Step-by-Step Guide
Ribbed Crochet Socks Pattern – Beginner-Friendly Step-by-Step Guide Create a…
Ribbed Crochet Socks Pattern – Beginner-Friendly Step-by-Step Guide
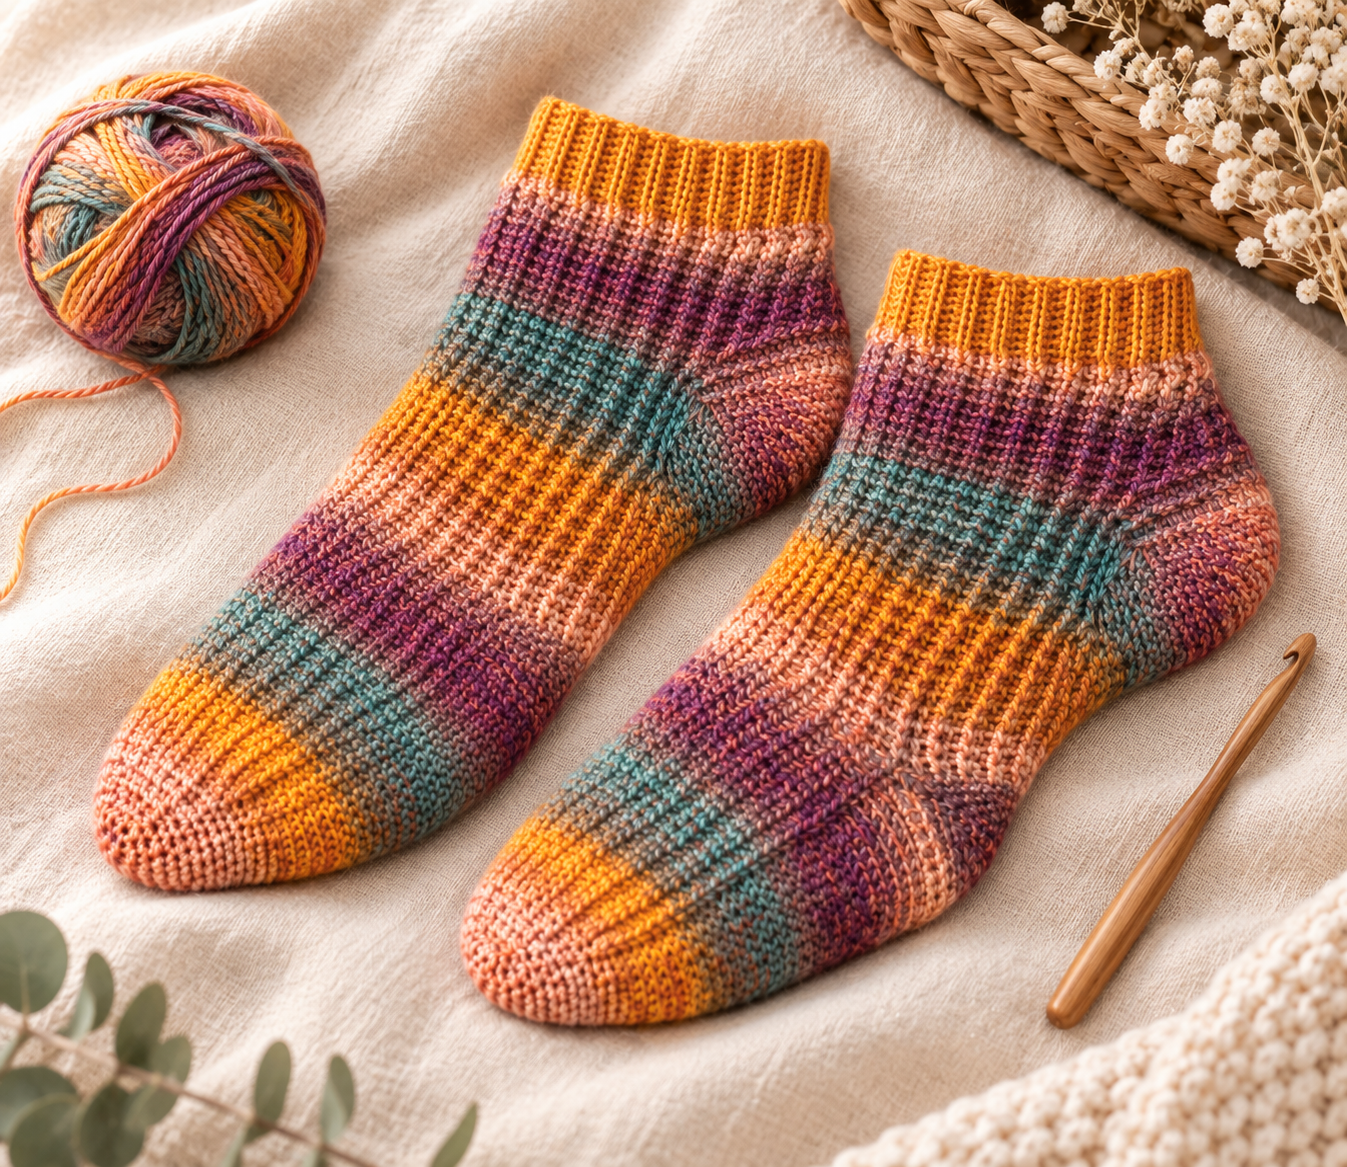
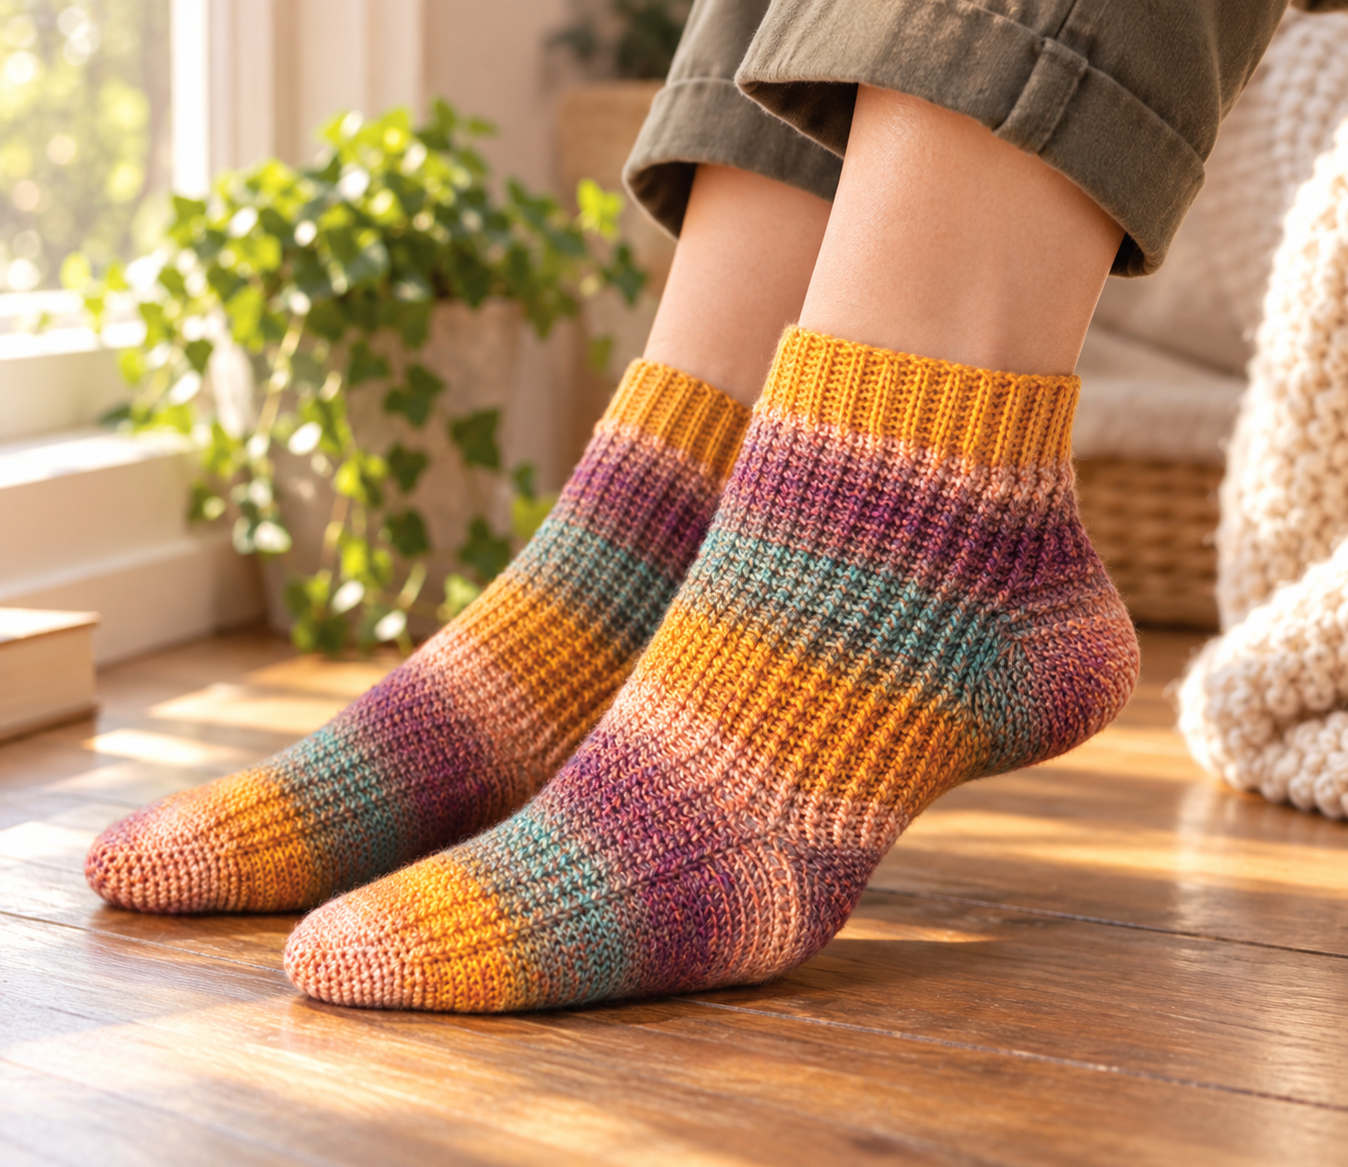
Create a beautiful pair of colorful ribbed crochet socks with this detailed step-by-step pattern. These handmade socks are comfortable, warm and perfect for everyday wear or thoughtful gifts.
Discover more crochet accessories in our Wearables & Accessories collection, or explore more tutorials on the CrochetDiary blog.
Materials
- Rowan Sock yarn, 75% wool and 25% polyamide
- 4-ply yarn, 400 m / 437½ yd per 100 g ball
- Color: Jewel (001), 1 ball
- 3 mm crochet hook, US C/2 or D/3
- 2 lockable stitch markers in different colors
- Tapestry needle and scissors
Tension and Gauge
After steam blocking, 13 stitches and 10 rounds should measure 5 × 5 cm (2 × 2 in) over the pattern using single crochet and front-post half double crochet worked in the round with a 3 mm hook.
Make your tension swatch in the round because your gauge may be different when working in rows and rounds. The crochet fabric may stretch more lengthwise and widthwise after wet blocking.
Finished Size
| Size | UK Shoe Size | US Shoe Size | Foot Circumference | Approx. Foot Length |
|---|---|---|---|---|
| S | 3–4 | 5–6 | 17 cm / 6¾ in | 21 cm / 8¼ in |
| M | 5–6 | 7–8 | 18.5 cm / 7¼ in | 23 cm / 9 in |
| L | 7–8 | 9–10 | 20 cm / 8 in | 25 cm / 10 in |
The leg measures approximately 17 cm (6¾ in) from the top of the heel to the top of the cuff. If you use self-striping yarn, begin each sock with the same color sequence so both socks match.
Abbreviations
| Abbreviation | Meaning |
|---|---|
| ch | chain |
| sc | single crochet |
| sl st | slip stitch |
| scBLO | single crochet through back loop only |
| FPhdc | front-post half double crochet |
| esc | evenly spaced single crochet |
| sc2tog | single crochet two stitches together |
| sc3tog | single crochet three stitches together |
| st / sts | stitch / stitches |
| rnd | round |
| RS / WS | right side / wrong side |
For additional crochet abbreviations and standard symbols, visit the Craft Yarn Council crochet abbreviations guide .
Right Sock Cuff
Using a 3 mm hook, ch 11 (11) (11).
Row 1: 1 sc in the 2nd ch from hook, 1 sc in every ch, turn. 10 (10) (10) sts.
Row 2: ch 1 (does not count as a stitch here and throughout), 1 scBLO in every stitch, turn.
Repeat Row 2 a further 44 (48) (52) times, ending with the wrong side facing. You should have 46 (50) (54) rows in total.
Joining the Cuff
Hold the first and last rows together. Working through the back loops of both rows, ch 1 and slip stitch across to join. Do not fasten off.
Leg
Rotate the piece and work into the row ends of the cuff.
Next round: ch 1, work 48 (52) (56) esc evenly around the top edge of the cuff. Slip stitch into the first stitch to join.
Round 1: ch 1, 1 sc in the same stitch as the slip stitch, 1 FPhdc around the next stitch, *1 sc, 1 FPhdc around the next stitch; repeat from * to the end. Slip stitch into the first sc to join.
Round 2: ch 1, 1 sc in the same stitch as the slip stitch, 1 FPhdc around the next FPhdc, *1 sc, 1 FPhdc around the next FPhdc; repeat from * to the end. Slip stitch into the first sc to join.
Rounds 3–15: Repeat Round 2.
Round 16: ch 1, 1 sc3tog, 1 FPhdc around the next FPhdc, *1 sc, 1 FPhdc around the next FPhdc; repeat from * to the end. Slip stitch into the first sc to join. 46 (50) (54) sts.
Rounds 17–26: Repeat Round 2.
Separating for the Heel
Round 27: work 23 (25) (27) chainless foundation sc, skip the next 23 (25) (27) stitches, then work 1 FPhdc around the next FPhdc. *1 sc, 1 FPhdc around the next FPhdc; repeat from * to the end. Slip stitch into the first sc of the chainless foundation to join.
Round 28: ch 1, 1 sc in the same stitch as the slip stitch, 1 sc in every stitch of the chainless foundation, 1 FPhdc around the next stitch, *1 sc, 1 FPhdc around the next FPhdc; repeat from * to the end. Slip stitch into the first sc to join.
Foot
Round 29: ch 1, 1 scBLO in the same stitch as the slip stitch, 22 (24) (26) scBLO, 1 FPhdc around the next stitch, *1 sc, 1 FPhdc around the next FPhdc; repeat from * to the end. Slip stitch into the first sc to join.
Repeat Round 29 twice more.
Round 32: ch 1, 1 sc2tog BLO, 19 (21) (23) scBLO, 1 sc2tog BLO, 1 FPhdc around the next FPhdc, *1 sc, 1 FPhdc around the next FPhdc; repeat from * to the end. Slip stitch into the first sc to join. 44 (48) (52) sts.
Round 33: ch 1, 1 scBLO in the same stitch as the slip stitch, 20 (22) (24) scBLO, 1 FPhdc around the next stitch, *1 sc, 1 FPhdc around the next FPhdc; repeat from * to the end. Slip stitch into the first sc to join.
Repeat Round 33 until the foot measures 11 (13) (15) cm / 4¼ (5) (6) in from the chainless foundation.
Toe
The toe is worked in a continuous spiral.
Set-up round: ch 1, 1 sc in the same stitch as the slip stitch, 20 (22) (24) sc, 1 sc in the next stitch. Place the green marker in the stitch just made. Work 21 (23) (25) sc, then 1 sc in the next stitch. Place the blue marker in the stitch just made. This is now the beginning of the round.
Round 1: 1 sc2tog, 1 sc in every stitch to 2 stitches before the green marker, 1 sc2tog, 1 sc in the marked stitch, 1 sc2tog, 1 sc in every stitch to 2 stitches before the blue marker, 1 sc2tog, 1 sc in the marked stitch. 40 (44) (48) sts.
Round 2: 1 sc in every stitch to the end, moving the markers up as you work.
Repeat Rounds 1 and 2 a further 3 (4) (5) times. Repeat Round 1 once more. 24 (24) (24) sts.
Fasten off, leaving a tail of approximately 15 cm (6 in). Thread the yarn tail onto a tapestry needle and sew the toe opening closed. Weave in the yarn end.
Afterthought Heel
The heel is worked in a continuous spiral. With the right side facing, join the yarn with 1 sc at the bottom-right corner of the heel opening.
Working along the sole, work 23 (25) (27) sc and place the green marker in the last stitch made. Working along the other side of the opening, work 23 (25) (27) sc and place the blue marker in the last stitch made. 46 (50) (54) sts.
Round 1: 1 sc2tog, 1 sc in every stitch to 2 stitches before the green marker, 1 sc2tog, 1 sc in the marked stitch, 1 sc2tog, 1 sc in every stitch to 2 stitches before the blue marker, 1 sc2tog, 1 sc in the marked stitch. 42 (46) (50) sts.
Round 2: 1 sc in every stitch to the end, moving the markers up as you work.
Repeat Rounds 1 and 2 a further 4 times. Repeat Round 1 once more. 22 (26) (30) sts.
Fasten off, leaving a tail of approximately 15 cm (6 in). Thread the yarn tail onto a tapestry needle and sew the heel closed. Weave in the yarn end.
Left Sock
Work as for the right foot to the marked section.
Separating for the Left Heel
Round 27: ch 1, 1 sc in the same stitch as the slip stitch, 1 FPhdc around the next FPhdc, [1 sc, 1 FPhdc around the next FPhdc] 11 (12) (13) times, then work 23 (25) (27) chainless foundation sc. Skip the next 23 (25) (27) stitches, including the first sc made in this round. Slip stitch into the first FPhdc to join. This is now the beginning of the round. 46 (50) (54) sts.
Round 28: ch 1, 1 FPhdc around the first FPhdc, [1 sc, 1 FPhdc around the next FPhdc] 11 (12) (13) times, 1 sc in every stitch of the chainless foundation. Slip stitch into the first stitch.
Round 29: ch 1, 1 FPhdc around the first FPhdc, [1 sc, 1 FPhdc around the next FPhdc] 11 (12) (13) times, 1 scBLO in every stitch to the end. Slip stitch to the first stitch.
Repeat Round 29 twice more.
Round 32: ch 1, 1 FPhdc around the first FPhdc, [1 sc, 1 FPhdc around the next FPhdc] 11 (12) (13) times, 1 sc2tog BLO, 19 (21) (23) scBLO, 1 sc2tog BLO. Slip stitch into the first stitch to join. 44 (48) (52) sts.
Repeat Round 29 until the foot measures 11 (13) (15) cm / 4½ (5) (6) in from the chainless foundation.
Left Sock Toe
The toe is worked in a continuous spiral.
Set-up round: ch 1, 1 sc in the same stitch as the slip stitch. Place the blue marker in the stitch just made. Work 21 (23) (25) sc, then 1 sc in the next stitch and place the green marker in the stitch just made. Move the markers up as you work.
Round 1: 1 sc in the stitch with the blue marker, 1 sc2tog, 11 sc in every stitch to 2 stitches before the green marker, 1 sc2tog, 1 sc in the marked stitch, 1 sc2tog, 1 sc in every stitch to 2 stitches before the blue marker, 1 sc2tog. 40 (44) (48) sts.
Round 2: 1 sc in every stitch to the end.
Repeat Rounds 1 and 2 a further 3 (4) (5) times. Repeat Round 1 once more. 24 (24) (24) sts.
Fasten off, leaving a tail of approximately 15 cm (6 in). Sew the toe opening closed with a tapestry needle and weave in the yarn end.
Helpful Tips
- Check your gauge before beginning the socks.
- Use different colored stitch markers for the toe and heel.
- Keep your tension relaxed to preserve the stretch of the fabric.
- Count your stitches after every decrease round.
- Block the finished socks carefully for the best shape.
Final Thoughts
This ribbed crochet socks pattern is a rewarding project for crocheters who want to create a practical handmade accessory. The combination of colorful yarn, textured stitches and careful shaping produces a comfortable pair of socks with a beautiful handcrafted finish.
For more crochet wearables and accessories, visit our Wearables & Accessories section or discover more free crochet tutorials on the CrochetDiary blog.